Get a recipe for gluten and dairy-free bread for a bread machine, plus one that works for egg-free diets as well.
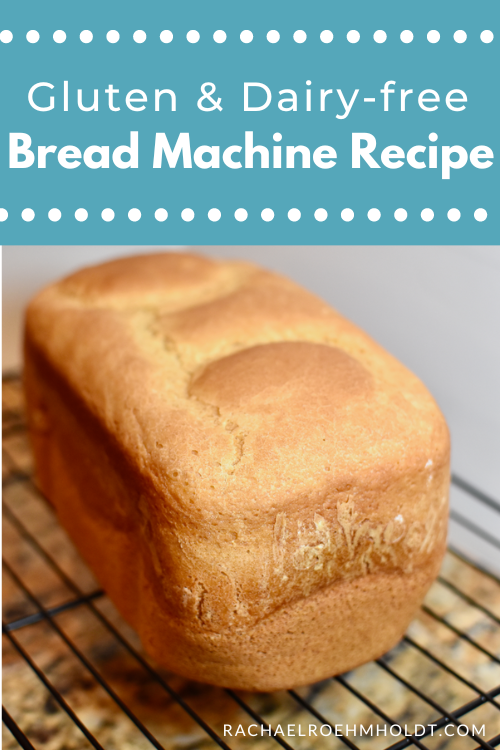
I’ve been making my own bread for about two years now. It’s gluten-free, dairy-free, and egg-free. I’ve been making it in a bread machine that requires very little effort on my end, which is truly the only real way you’re ever going to see me baking bread from scratch.
I’ll be honest, I haven’t wanted to share about my bread machine for the past few years since I got it. There’s a few reasons for that, but the biggest one is that I don’t really feel like I have it “mastered.”
I’m not a great baker by nature. I get by, make things that taste good to me for someone who has been avoiding gluten, dairy, and eggs for a number of years. I know that the way that I cook, eat, and bake isn’t for everyone – my extended family is always quick to point that out to me.
So when it came to getting this fancy bread machine that was an extremely expensive investment for what it is, I feel a little bit of embarrassment that I don’t have it all figured out.
I’ll be honest, I think I’ve made a WHOLE lot of mistakes with this thing in the past couple of years since I’ve had it. And it’s held me back from feeling confident enough to share my experiences with you about it.
So here I am, being honest about it. Sharing what I’ve learned so far and what I can about this amazing tool that I know I’m just scratching the surface of its possibilities.
Let’s go through the pros and cons of baking your own gluten and dairy-free bread in a bread machine, then I’ll share some of my major mistakes so you can hopefully bypass them if you’re wanting to make your own bread at home too.
Pros of making your own gluten and dairy-free bread
There are a number of reasons why I decided to make my own bread at home. Here are just a few of them:
- You know exactly what ingredients are in your bread – no surprises, preservatives, or extras that you don’t want to be eating
- Gluten-free bread is expensive – homemade is less so
- Finding gluten AND dairy-free bread isn’t easy – making my own made it easy to have exactly what I wanted
- Finding gluten, dairy, AND egg-free bread was downright impossible – I could make swaps and make it work for me without sacrificing what I needed
- It was actually way easier than I thought it would be when I had all the tools and ingredients on hand
- You can customize a basic recipe to turn it into a flavored loaf – think cinnamon raisin, Italian, etc.
- You can have bread whenever you want it – you don’t have to make an extra trip to the store
Cons of making your own gluten and dairy-free bread
There are a few downsides to making your own bread that’s gluten and dairy-free at home. Here are the few I’ve run across on my bread-baking journey:
- Bread machines with a gluten-free setting aren’t cheap – the one I bought is like the Cadillac of bread machines but it has definitely been worth its price tag
- You need to buy special ingredients that may or may not be easy to find at your local grocery store. Specific flours and xanthan gum aren’t always stocked locally for me, so I’ve had to wait to make bread in order to order them online
- Baking is an exact science, so making swaps for ingredients doesn’t always work perfectly. I’m able to make egg-free bread without issue, but the same recipe with eggs turned out much differently
- It takes more time to bake your own bread than buy it. With all the right ingredients, it takes around 2 hours to make a loaf of bread, much more time than grabbing a loaf of bread from the store
- Short shelf life. Without preservatives, fresh bread doesn’t last too long before it starts getting mold growth. I’ve found it usually lasts about a week at room temperature. To stave off wasting any bread, I’ll often slice it then freeze it for later.
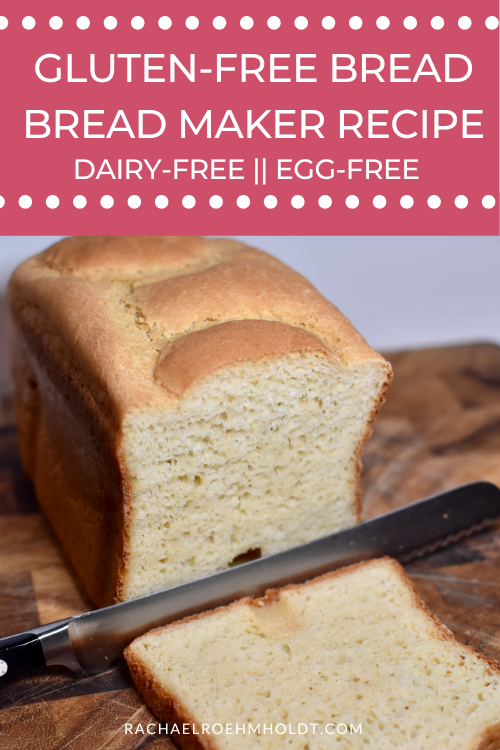
My top mistakes while baking my own gluten and dairy-free bread
Since I started making my own bread, I’ve made a number of mistakes. Let’s go over some of them so if you decide to bake your own bread, you don’t have to learn the hard way from the same things that I did.
- Buying a bunch of different flours that I never got around to using. When I first got my bread machine, I bought all the different types of gluten-free flour that were in a cookbook for making gluten-free bread. I later found out these recipes didn’t work so well in my model of bread machine. I wound up not using them before their expiration date, costing me loads of money in unused ingredients.
- Using ingredients that were past their expiration date. Even with the ingredients I was using, I bumped up against some expiration dates without knowing it. I made about three different loaves of bread wondering why they weren’t turning out as well as they used to. It turns out if you use yeast or flour that is past their prime, they won’t make great bread. Surprise surprise! I’ve learned my lesson that I need to check dates on the packages every time before I bake so I don’t waste ingredients.
- Buying a gluten-free bread machine cookbook with loads of different bread recipes thinking it would work with my machine. It turns out that not all bread machines are the same and the recipes in a cookbook I bought just didn’t work in my machine. Don’t ask me why it didn’t work, because I have no idea. I’ve been sticking with the recipes that come with the machine I have and they work consistently time after time.
- Not following the recipes in the book to a T. Baking is a science, but I hate following directions. That’s why I’m generally a better cook than I am a baker. The times that I didn’t measure perfectly, my bread didn’t turn out the way I expected it to. I’ve learned my lesson that I need to measure every ingredient precisely with my kitchen scale before adding it to the machine. Swapping one thing for another works sometimes… and not others!
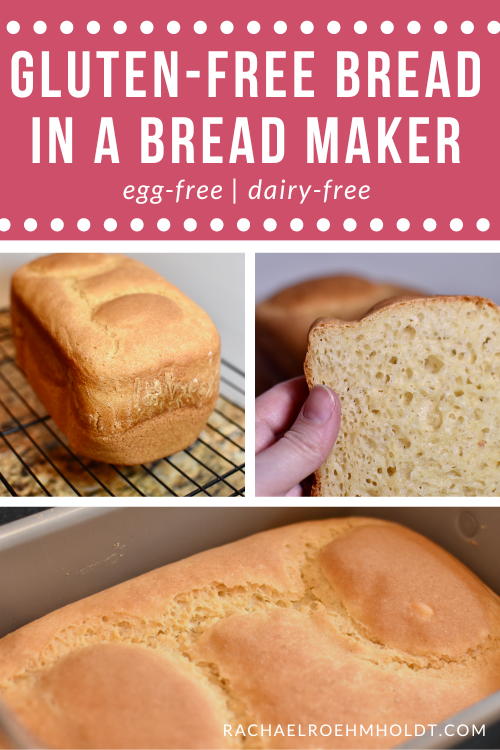
The Cadillac of gluten-free bread machines
You are probably wondering what type of bread machine got me to finally decide to start baking my own bread. After years of not eating bread, then buying expensive bread from the store. Which machine made it worth it to make my own and take the time to invest in homemade bread?
The bread machine that I have is a Zojirushi Virtuoso Plus. My husband and I decided to invest in this machine three years ago when I was having a hard time finding gluten, dairy, and egg-free bread at the store.
Gluten-free bread is easy to find. Gluten-free bread without dairy is a little harder to find. And gluten-free, dairy-free, and egg-free bread is really hard to come by. At least in my local area. And I figured that any bread that I could order online likely wasn’t even close to being fresh anyway.
Since I was avoiding all three of these foods (gluten, dairy, and eggs) and we knew I would be for the foreseeable future, we decided it would be better for me to make my own bread than to consistently buy bread that wasn’t working for my body.
As a side note, I have recently started eating eggs again but will continue to avoid dairy and gluten in my diet. I’m also still planning on making my own bread, because it’s so much better than what I’ve been able to find at grocery stores.
Back to the bread machine. This fancy bread machine is kind of the Cadillac of bread machines. It’s one of the nicest models out there and it has so many great presets (they call them “courses”), including an option for Gluten-free Bread.
There are 14 other presets, including a homemade course where you can put in your own time settings for all the different stages of baking. The machine can supposedly also make cakes, doughs, and jams, though I haven’t delved into those quite yet.
With the bread machine, you get a recipe booklet. For the gluten-free course, they offer three bread options: a basic brown rice loaf, Italian loaf, and cinnamon raisin loaf. I’ve tried all three and they’re all absolutely delicious.
The way you make gluten-free bread in this machine is to combine the gluten-free flours and dry ingredients together first in a bowl. Then, you start adding the ingredients to the machine in order of the recipe. Liquids go first, then the flour/xanthan gum, then salt, then yeast. You place the pan in the machine, turn it on to Course 5 (gluten-free setting), then select your crust level.
You can control the darkness of the crust you want on your bread. I prefer the dark crust, so I select that when I’m making my bread. But you can choose light or medium as well.
Halfway through the gluten-free cycle, the machine will beep at you to let you know to come scrape down the sides of the loaf pan to incorporate all the ingredients into the bread. This is also an opportunity to add any mix-ins to your bread (like raisins for a cinnamon raisin loaf).
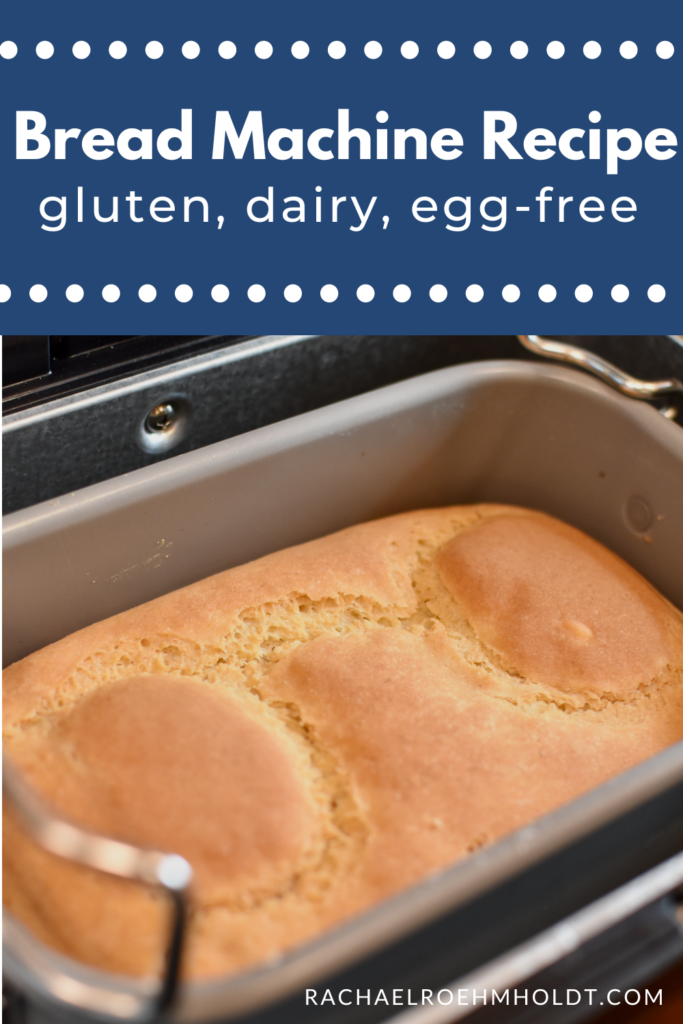
How to make your bread dairy and egg-free on the gluten-free setting in the Zojirushi bread machine
This Zojirushi Virtuoso Plus bread machine comes with a recipe booklet with three different gluten-free bread recipes to use with the gluten-free course. All three of these recipes call for milk and eggs.
To make my bread dairy-free, I simply swap out the milk for the same amount of dairy-free milk in its place. I’ve had luck using both almond milk as well as oat milk, but I can only assume that most plant-based milks will work the same.
To make my bread egg-free, I swapped out the three eggs that are called for in the recipe for three flax eggs. To make one flax egg, you combine one tablespoon of ground flax meal with three tablespoons of warm water. So with this recipe, I use three tablespoons of flax with nine tablespoons of warm water. Then I let it sit for around 5 minutes before adding it with the other ingredients.
To be transparent, this recipe calls for milk and eggs for a reason. The recipe will turn out with a better flavor and texture with these two ingredients. That said, I haven’t made this recipe with milk at all and it’s consistently tasty with a decent texture.
I have just recently made this bread using eggs (the first time was when I took the photos for this post!) and the consistency is much more firm than when I use flax eggs. So keep this in mind when you make swaps.
How to make gluten, dairy, and egg-free bread for a bread machine step-by-step
The full recipe is below, but if you want to see how things come together using photos, use this as your guide.
Step 1. Gather ingredients

This feels like its own entire step. This recipe calls for a number of ingredients and tools, so take the time to gather them up and set yourself up for ease while making this recipe.
Be sure to get out a kitchen scale, a large bowl, rubber spatula, small dish and whisk for whisking eggs, a set of teaspoons and tablespoons, and a liquid measuring cup. You might decide to use other tools too, but these are what I can think of that I use when I make this recipe.
Step 2. Make the flax eggs
If you plan to make your bread egg-free, start with making the flax eggs for this recipe to allow them time to set while doing the other steps.
To make the flax eggs, combine three tablespoons of ground flax meal with 9 tablespoons of warm water in a small dish. Stir to combine, then set aside for at least five minutes to allow them to set.
If you’re not using flax eggs, you can use this time to crack the eggs and beat them for later on in this recipe when you need them.
Step 3. Combine dry ingredients

Gather a bowl to combine the three dry ingredients that get mixed before they’re added to the recipe. This includes brown rice flour, potato starch, and xanthan gum.
You’ll need to use your kitchen scale to get accurate weights on these. I find it’s easiest (and less mess) to place the bowl I’m using on the kitchen scale, then tare it to zero. I’ll add in the first ingredient while watching the scale. Once I get that one done, I’ll tare the scale again, and add the next flour until I get it to the right amount. And repeat until you’re done.
Mix everything together with a spoon to make sure all the flours are well combined.
Step 4. Add the ingredients into the baking pan in order

The way this bread machine works is that you need to add them in a certain order for it to work. In this case, you’ll add the liquid ingredients, followed by the mixed flour, then salt, then yeast on top.
This is the order to add in this order, so the top of the list ingredients are at the bottom of pan. Be sure to measure each of these using the recipe
- dairy-free milk
- 3 flax eggs OR 3 large eggs, beaten
- apple cider vinegar
- vegetable oil
- honey
- combined dry ingredients (brown rice flour, potato starch, and xanthan gum)
- salt
- active dry yeast

Step 5. Transfer the baking pan to the bread maker
Place the baking pan that has all the ingredients into the bread machine. Press the COURSE button to select Course No. 5 and press the START button.


Step 6. Stick around to wait for the beep

When the Add Beep sounds, thoroughly scrape down the flour and other ingredients from the sides of the baking pan to the bottom using a rubber spatula.
Step 7. Transfer the bread to a wire rack to cool

When the bread has finished baking, allow it to rest in the bread machine for about 10 minutes, then remove it from the machine. Transfer the bread out of the baking pan and onto a wire rack to cool completely on its side.
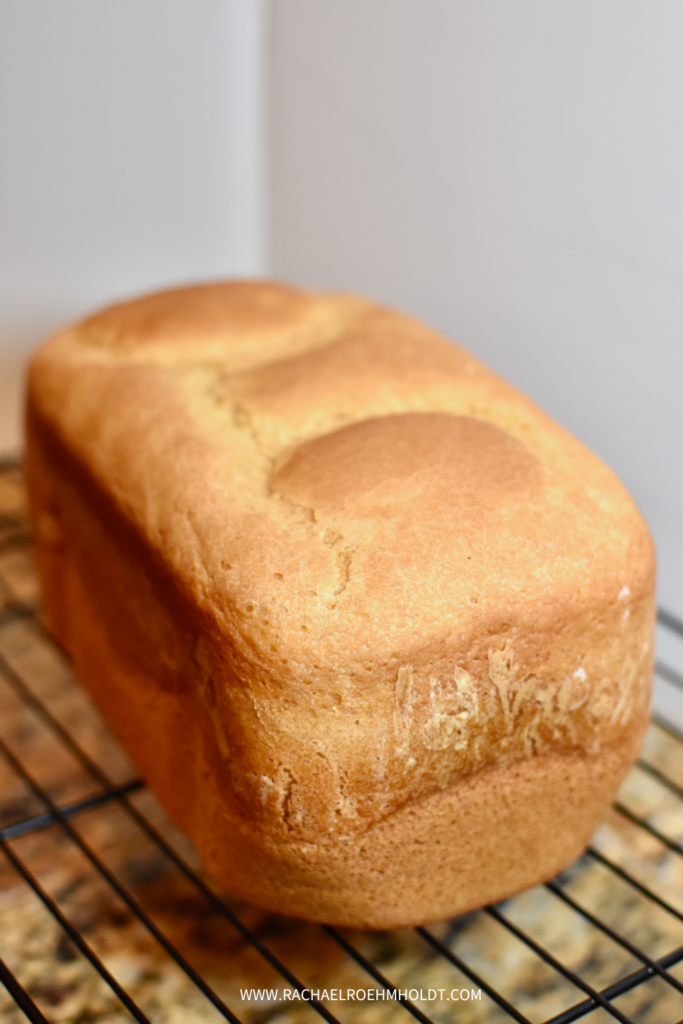
Step 8. Slice and enjoy!

Once cooled completely, it’s ready to cut into slices and enjoy! Use this bread as toast, sandwich bread, stuffing, or in any of your other favorite recipes you enjoy with bread!
Other things to know about this gluten & dairy-free bread
I won’t lie to you and tell you that this bread is the perfect texture. It’s not. I’ve found that without eggs, the bread doesn’t hold up too well unless it’s toasted. But it also gets the job done and it tastes just as good as other gluten-free breads that I’ve tried – maybe even better because it’s fresh.
It’s 100% required to have a kitchen scale for this recipe and to bake any gluten-free bread at home. Weighing ingredients is what will for sure make your bread turn out time and time again. Without it, you will likely get inconsistent results with your gluten-free bread.
Some ingredients can be swapped out for others, but not all. For example, I’ve found that potato starch and tapioca starch are interchangeable in these recipes, because they’re similar in weight. They’re both light and fluffy. But swapping out teff flour for brown rice flour might be a little more of a stretch, as teff is more dense than rice flour. Think this through before making swaps, but also don’t be afraid to experiment, because you might just find a new great recipe that becomes a favorite!
You can’t fully walk away from this bread machine while baking your gluten-free bread. There’s a beep that goes off to allow you to add extra ingredients to your bread. This is also the time where you’re supposed to scrape down the sides of the bread machine to make sure all the flour is fully incorporated into the machine.
I hope you’ll try this out if it’s in your budget or interest to try your hand at making homemade gluten-free bread using a bread machine.
Know that you certainly don’t need this machine to make great gluten-free bread. I’m only sharing my experience and what I know. If you have a machine that you recommend to others, feel free to share your experience in the comments below.
What questions do you have about my bread machine experience? Feel free to pop them in the comments too!
Gluten-free Bread (Dairy-free, Egg-free) in a Bread Machine
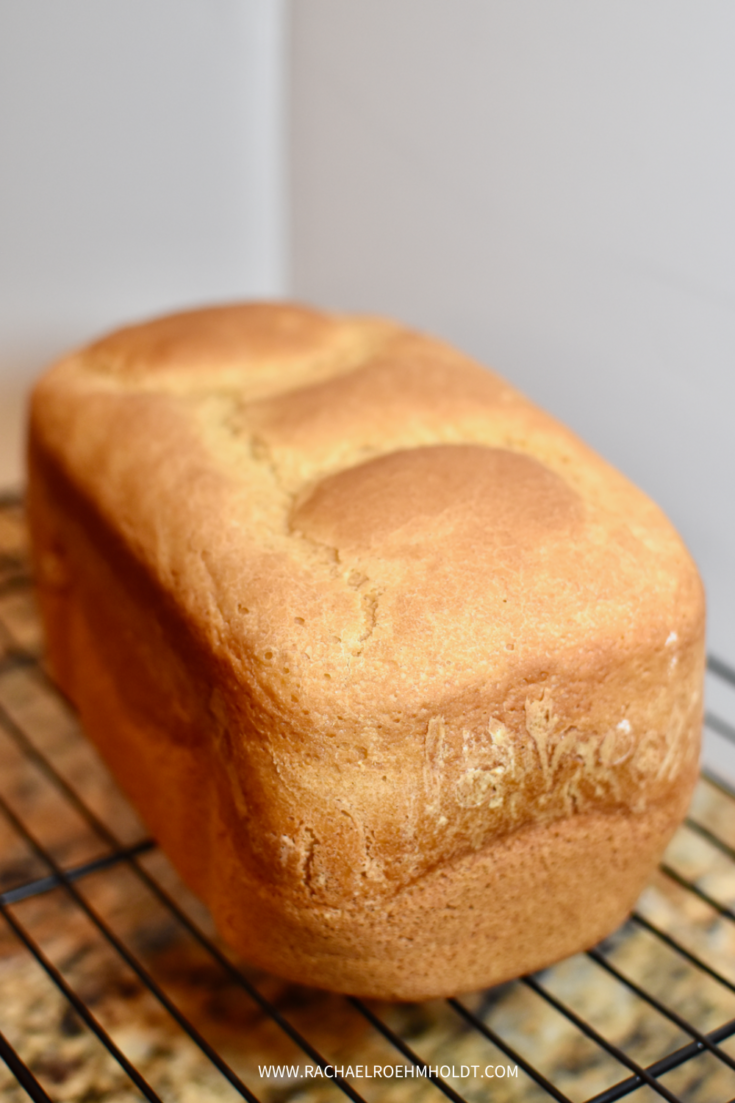
A recipe for brown rice bread that's made in a Zojirushi Virtuoso Plus bread machine that's been adapted for a dairy and egg-free diet. Recipe adapted from Zojirushi Virtuoso Plus Breadmaker Recipe Book.
Ingredients
- 360g dairy-free milk
- 3 flax eggs (3 tbsp ground flax meal plus 9 tbsp warm water) OR 3 large eggs, beaten
- 15g apple cider vinegar
- 36g vegetable oil
- 60g honey
- 320g potato starch
- 228g brown rice flour
- 8g xanthan gum
- 7.5g salt
- 9g active dry yeast
Instructions
- In a bowl, combine potato starch, brown rice flour, and xanthan gum. Mix well to combine.
- Add the ingredients in this order to the Zojirushi Virtuoso Plus baking pan: milk, flax eggs (or beaten eggs), apple cider vinegar, vegetable oil, honey, dry ingredients from step 1, salt, then active dry yeast.
- Transfer the baking pan to the bread maker. Press the COURSE button to select Course No. 5 and press the START button.
- When the Add Beep sounds, thoroughly scrape down the flour and other ingredients from the sides of the baking pan to the bottom using a rubber spatula.
- When the bread has finished baking, allow it to rest in the bread machine for about 10 minutes, then remove it from the machine. Transfer the bread out of the baking pan and onto a wire rack to cool completely on its side.
- Once cooled completely, it's ready to cut into slices and enjoy!
- This bread can be sliced, then wrapped in individual pieces of plastic wrap, then placed in a freezer bag for longer storage.
Notes
Be sure to use a kitchen scale to measure ingredients!
Recommended Products
As an Amazon Associate and member of other affiliate programs, I earn from qualifying purchases.



Leave a Reply